
Today I want to talk about a training tool that is seen more and more frequently these days in driveways, backyards, and pretty much anywhere that people work on their hockey skills. That tool is the hockey shot pad.
I figure this is the perfect time to talk about it. Now that hockey season is starting up again and players are getting back out on the ice, they may be finding out that they could use some extra practice in certain areas of their game. That could be because they moved up to a better team and/or a higher age group and want to hold their own against tougher competition, or maybe they just want to knock the rust off and feel in the groove sooner.
Whatever the situation, a hockey shot pad is a great tool for working on both shooting and stickhandling skills. Pads are available in a few different formats: a stiff board, a roll-up mat, or interlocking tiles.
As a result, there are lots of questions to answer when figuring out what kind is best for you. Who is going to be using it, and for what? Where will it be used? What is your budget? How handy are you (and do you want to use your DIY skills)? Let’s take a look at all the variables to help you figure out the best option for you.
Note: As an Amazon Associate, I earn from qualifying purchases.
Who Is Using It, And For What?
Like with almost anything else, shooting pads are available in different sizes. They can go from in the neighborhood of 2′ by 4′ on the small side up to 4.5′ by 10′ or even bigger. Also like with other things, there are pros and cons for both bigger and smaller pads.
A 2’x4′ pad would be suitable for very young players to work on basic stickhandling and snapshots. They might be able to use it for wrist shots too, but only if they’re small. Once they are around age 8-9, they’ll probably need more room for the full motion of a wrist shot.
Older players – basically anyone who is eight or older, in my opinion – would need a larger pad. How much bigger depends on what 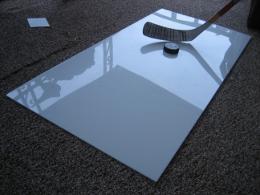 they’re going to work on, but keep in mind that if a pad that’s four feet long is going to be borderline in terms of having enough room for an eight-year old to take a wrist shot, then a teenager or adult is likely to want at least a couple more feet in length.
I mentioned that a pad that’s two feet wide would allow very young players to work on basic stickhandling. For a lot of younger players, and some older ones too, that’s really all they need to practice – the basic back-and-forth, side-to-side motion. In fact, in a way, a smaller board that doesn’t give players room to do much more than that could be helpful in that it forces them to master it.
Once a player is ready to move on to other moves, though, they will once again benefit from a larger pad. That way they can practice not just going side to side, but also moving the puck forward and back.
Lastly, any player looking to work on passing-related skills would most likely want a larger pad. That would allow them to use a pass rebounder or even have someone else feed them pucks for one-timers.
Location, Location, Location
Part of figuring out which pad is right for you depends on where the pad will be used. The location matters not just for what size pad, but also what type (single board, roll-up mat, or interlocking tiles).
Smaller pads have the obvious benefit of taking up less space, both while they’re being used and when they’re put away. That said, I think the space taken up while in use won’t be that big of an issue in most cases, especially if the pad is being used on the driveway or in the yard. If it’s in the basement or the garage, space may be more of a factor. I’ll come back to that, though, because I want to talk about it in connection with the type of pad.
As far as storage, when it comes to the single board shooting pads, there won’t be much difference. Whether it’s a 2’x4′ or a 2.5’x5′ board, you’ll probably just lean it against a wall in the garage or basement. Some people make their own boards (more on that in a minute), and go as big as 4’x8′, so that size would take up a little more space, but I don’t think it would be a dealbreaker.
The roll-up mats are available in sizes up to 4.5’x10′, so when rolled up, a mat will take up about the same amount of space as a rolled-up 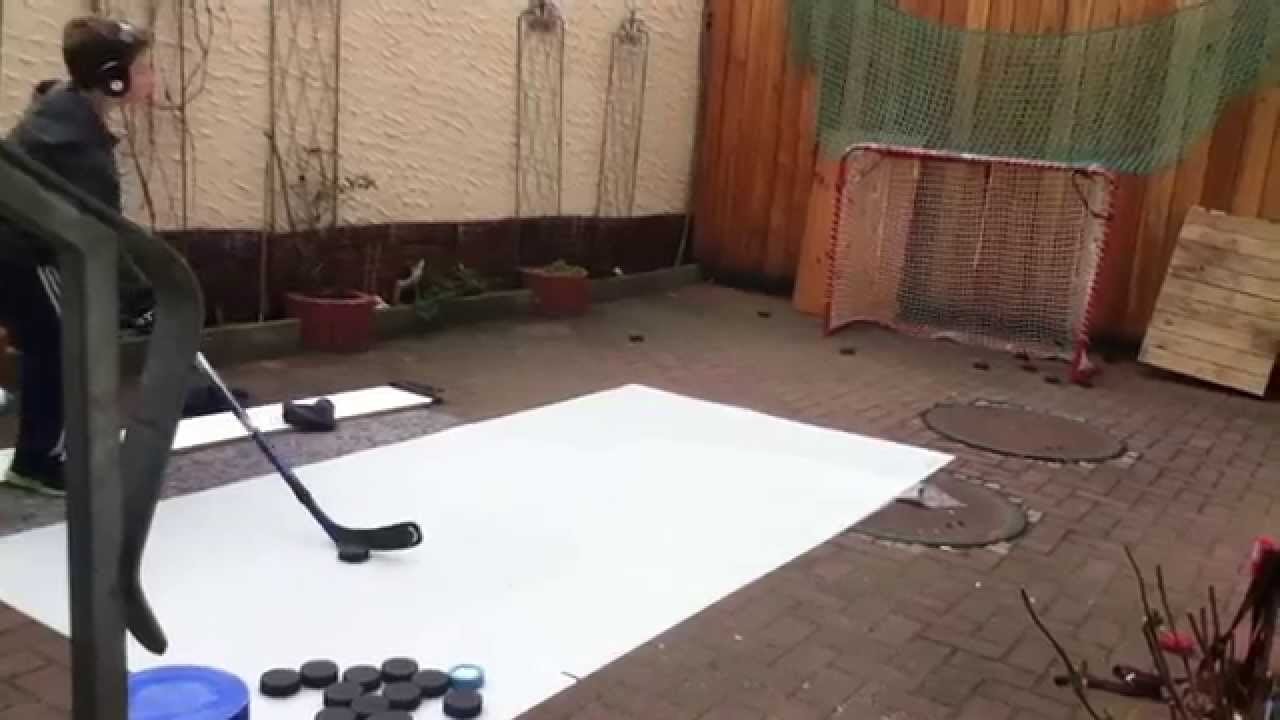 area rug (about 4.5′ tall). But, you may not feel like unrolling the mat and then rolling it back up each time you use it. Besides that, the mat will need some time to flatten out from being unrolled – probably a few hours at least.
The mats are thin (1/10″) and roll up easily, but personally, I wouldn’t want to have to unroll the mat and let it sit for a while to flatten out every time I wanted to use it. If you feel the same way, then a roll-up mat might only be an option for you if you have room in your basement or garage to leave it unrolled indefinitely. If you don’t mind that small bit of labor and time, though, the mats can be used on a driveway, as long as it’s a smooth surface.
With the interlocking tiles, you can buy them individually and customize the size and shape of your pad. So, the amount of space needed to store them when they’re not being used can vary, but they’re very easy to assemble and take apart if you need to – a matter of a few minutes. One popular style comes in 18″x18″ tiles, but there are also 12″x12″, 4’x4′, and 4’x8′ products on the market.
The tiles can be used on any flat surface, indoors or outdoors, as long as it’s not too bumpy or soft. So a paved driveway, garage, or any room that doesn’t have soft carpeting would work. If they’re going to be left outside for any length of time, it’s best to cover them with a tarp to protect them from debris (e.g., leaves that could leach color onto the tiles, animal droppings, tree sap, etc.).
Pucks And Bucks
OK, now let’s get down to business and talk about how much a shot pad will set you back. There’s a range depending on what size and type of pad you get.
Board Style
For a board-style shooting pad, a rough price range would be anywhere from $30 to $100, depending on the size (2’x4′ at the lower end, and 2.5’x5′ at the upper end).
Roll-up Mat
Roll-up mats are available in sizes from 4’x8′ up to 4.5’x10′, and typically run anywhere from $100 to $170.
Interlocking Tiles
Again, since the tiles can be purchased in any quantity to build a shot pad with whatever dimensions you like, the cost can vary. That being said, since the tiles also are sold in standard volume packages that offer a lower price per square foot than the individual tile price, it’s a good idea to estimate the minimum area you want your pad to cover, then see if there is a package that’s close to, but below, that square footage. Then you can buy additional individual tiles at the a la carte price if needed.
That approach will allow you to get the most bang for your buck if you’re buying the tiles. If you realize down the road that you want a bigger pad, then you can always add more tiles. Just remember to get the same model so the new ones will work with your old ones!
Going The DIY Route
As I mentioned earlier, some people build their own shot pad instead of buying one. The main benefit of this approach is cost savings. It also gives you more control over the size and shape of your pad compared to a single board or a roll-up mat.
There are downsides to building your own pad. One is that it does involve a bit of prep and maintenance; nothing terrible, but some people don’t want to deal with that. Another drawback is that a homemade pad is less predictable in terms of how well it will work – that is, how close it is to real ice as far as puck glide. I think a well-made pad can perform as well as a manufactured one, but not better. And sometimes it takes a couple tries to make a pad that works really well, which negates some of the cost savings.
For a DIY pad, you’ll need to figure out what size pad you want, then go to a hardware store and get a board in that size. You can use 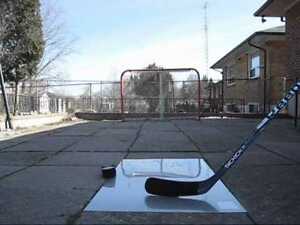 melamine, HDPE (high-density polyethylene), or a Hardboard Thrifty Tile board, which costs less than $15 at Home Depot for a 4’x8′ sheet.
To make the board slick so pucks will slide on it like they would on ice, you need to use either silicone lubricant or furniture polish (e.g., Pledge). Apply it to the entire surface and rub it in well, making sure that you wipe away any excess. Once it has dried completely, you can use the board. The slickness from the silicone or furniture polish should last awhile (i.e., several hundred shots at least), but you may eventually have to do a second application.
My Recommendations
As you can see, there are a lot of factors that go into determining what kind of shot pad is the best fit for your needs. In my opinion, a bigger pad gives you more options. Not everyone has the space to accommodate a bigger pad, though, and of course as the size of the pad increases, so does the price.
Still, for those that want a large pad and don’t want to build it themselves, I think that the flexibility of the interlocking tiles to change the size and shape of the pad gives that type the edge over a roll-up mat. If you want to check pricing on an excellent interlocking tile system, click here.
If you’re on a budget, then I think building your own pad is probably the best approach. As long as you’re willing to do a little work to prepare and maintain the pad, and will store it someplace where it isn’t exposed to the elements, a homemade pad will give you a good combination of performance, low cost, and flexibility regarding size.
Parting Shot
OK, now that you’ve heard my thoughts and recommendations, I want to hear from you. Have you ever built your own hockey shot pad, and if so, what materials did you use? How well did your pad work? Have you used manufactured pads, and how would you compare them? Please share your comments and ask questions below – thanks!
Note: This post contains affiliate links. If you click on an affiliate link and subsequently make a purchase from the linked website, I may receive a commission. The reviews and recommendations on this website are based on my own personal experience and research, and are not influenced by my affiliate status. I will always give my honest opinions to help you make informed decisions.
I am learning hockey and as such I decided to buy a hockey shot pad before but having read this article that I can actually make one for myself. I love DIY projects and I’m surely going to give this a go. I’m sorry that I won’t be able to give all those details as to how I plan to make my shot pad yet because I would just st start researching and probably watch a lot of YouTube videos to get it right. Maybe I’d come back to share the details with you. Or if you don’t mind, you can make a post on that too. Thanks
Hey Mattias,
I’m debating making one myself. If I do, I’ll definitely add more about that here. Please let us know how yours goes too – thanks!
Hello there, thanks for sharing this post. I am just beginning to grow some interest in hockey. From what I have seen here, these shot pads are really cool especially for those of us who want to use it as form of relaxation. I’d love to get one for myself but is there one bigger than the 4×8 feet?
Hi Dane – The roll-up mats are available in either 4’x8′ or 4.5’x10′. I know some people buy multiple 4’x8′ boards and put them together to make an 8’x8′ or even 12’x8′ surface. That can work, the only thing is that since they are separate boards, you would want to connect them so they don’t wiggle away from each other and create a seam that affects how the puck moves. You would need to connect the boards on the sides with brackets. Since you probably don’t want to do that every time you use the pad, you would need enough space to leave the pad on the floor indefinitely.
The other option is the interlocking tiles, which can cover as small or large an area as you want, and are easy to assemble and disassemble and let you change the shape of your pad.
Hope this helps – please let me know if you have more questions.
There is very good information here. I have been thinking about this for my younger brother who is only 7, so this helps me. He has only shown interest in hockey very recently and I think that with the right amount of training, he can be on his way. Thank you for evaluating the different sizes of the shot pads here. I’ll buy the small type for him. Thanks!
Thanks Henderson, glad this helped you, and good luck to your brother.
Hello there, I am really glad to have come across this. My son is a lover of hockey and wishes to be a hockey player, lol. He is just 10y ears of age but his interest in the game makes me want to help him develop in it as he always say he wants to be as good as Gordie Howe if not better. I’ll love to get him this hockey shot pad so he can start from there. Thank you.
Hi Chloe – I’m glad this was useful for you. Good luck to your son!
Hello,
i’also would like to make one by myself for my son (9 years old) who practices roller hockey in our city in France, my question was what for weight (and width for HDPE ) in order it does not move at time of shot…, do we have to put something at the bottom ( cause the street is not always straight , and to do not damage it ?)
cause for best solution if not straight: roll up or tiles or plate ?
here are advantages i see:
roll up: bigger size for lower costand easy to put away
tiles: we can adapt regarding available space, and add some more tiles later on
plate: more stifness easy to put away and sounds more close to ice in term of sliding
am i right thinking that ?
Thanks in advance for your feedback
Best regards
LB
Hi LB,
For the HDPE boards, the one that I linked to in my post is 4’x8′ (about 122cm x 244cm); that size weighs 18 lbs (about 8 kilograms). I would think that would be big/heavy enough that it wouldn’t move when shooting.
You are right in how you’re looking at the advantages of each type of shot pad, although pucks probably slide as well on the tiles (and the HDPE board, if treated properly) as the manufactured pad. If the surface is bumpy (gravel or loose rocks) then a roll-up pad probably isn’t a good choice. With the other types, I think any would work. For reference, a manufactured pad that is 2.5’x5′ weighs 15 lbs (76cm x 152cm, 6.8kg), meaning it’s denser than the HDPE board.
I hope this helps – please let us know what you go with and how it works. Thanks for reading!
Jordan